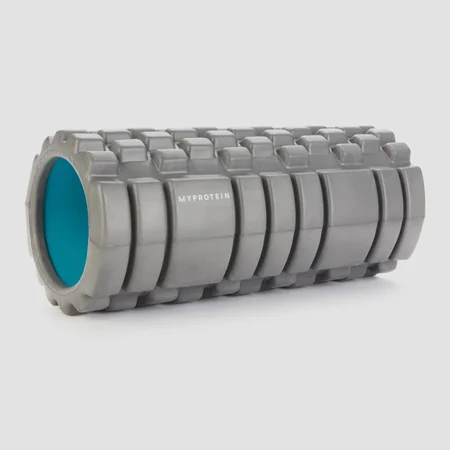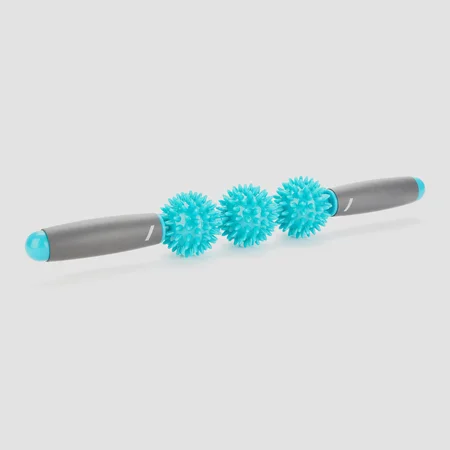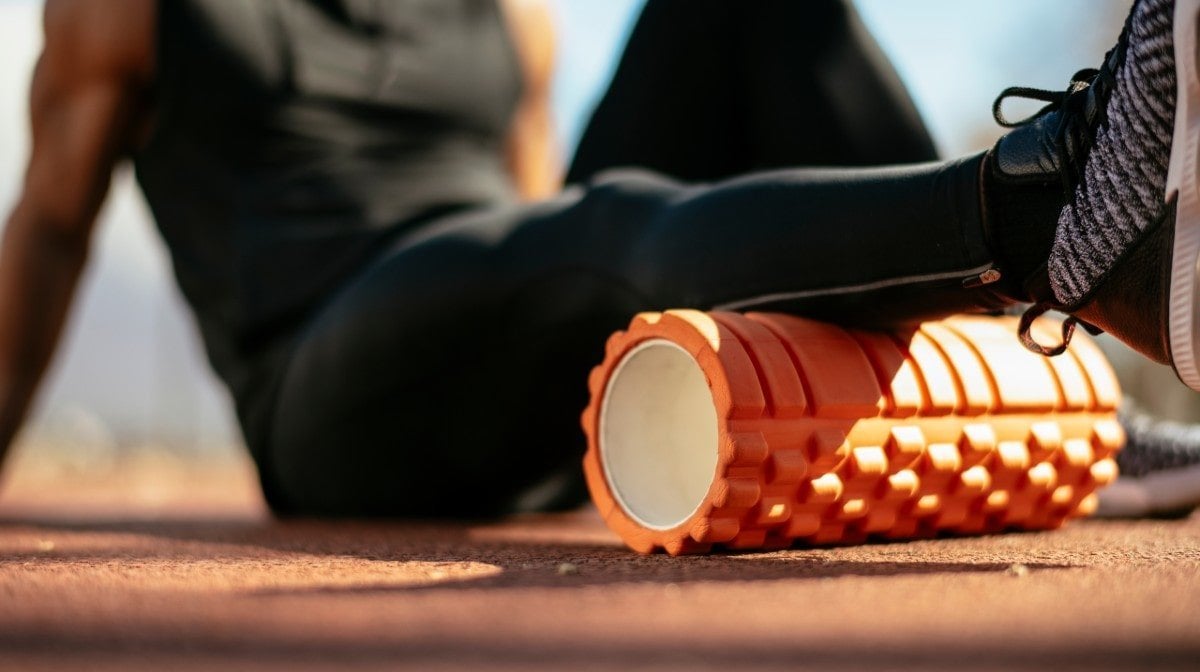
Foam rolling different muscle groups can help to relieve feelings of tension, discomfort, and pains – often associated with DOMS. While the current scientific literature debates whether foam rolling leads to any objective advantages for recovery, it feels good and poses no risk when performed correctly, so it can provide a great method to add to your recovery! We’ve compiled our favourite foam roller exercises to help relieve tension and pain for a full-body session.

Foam Roller Exercises
For each exercise, you should roll the full length of the muscle in the same direction of the muscle fibres. If you reach an area of tenderness, keep the pressure on it for around 30 seconds before continuing to roll the length of the muscle. This effectively uses a massage technique known as “ischaemic compression”, essentially limiting the blood supply to the muscle to force tight spots to relax.
Calves
The calves are made up of two separate main muscles – the soleus, and the gastrocnemius. It is difficult to isolate just one, as the soleus is deeper, while the gastrocnemius is more superficial. Subsequently, it may be harder to work out trigger points in the soleus than in the more superficial gastrocnemius. The muscle fibres run in the direction from the knee to the ankle, so this is the direction that should be foam rolled.
To increase pressure:
- Place the free leg on top of the leg you are rolling.
- Use the foam roller to support more of your bodyweight, thus increasing the load on the muscle being foam rolled.
- Foam roll slower for a deeper sensation.
To reduce pressure:
- Place the foot on the floor, next to the leg being rolled, using the floor to support more of your bodyweight. This will result in less load being placed on the muscle being foam rolled.
- Perform the action slightly quicker for a more superficial soft tissue massage.

Tibialis Anterior
The tibialis anterior muscle is on the front of the lower leg and is responsible for movements such as pulling up the toes, otherwise known as dorsiflexion.
- When foam rolling, it is advisable to avoid bony areas in order to negate the risk of discomfort or injury.
- For this exercise, you should rotate the toes towards each other slightly so that you are rolling over the fleshy, outer (lateral) part of the shin.
- Again, the muscle fibres run from the knee to the ankle, so you should roll in the same direction. As this is a relatively long and thin muscle, it may be more effective to use a lacrosse ball rather than a foam roller, although this will result in a deeper and more aggressive massage due to the smaller surface area.
Quadriceps
To help improve the range of movement available at the hip and knee as a result of the quadriceps flexibility, you can spend a few minutes rolling out the quads before you begin exercise.
As the quads are made up of four different muscles, you can rotate your body to target each muscle, with the vastus lateralis on the outside, rectus femoris down the middle, which sits on top of the vastus intermedius, and then the vastus medialis on the inside.
- The muscle fibres run from the hip down to below the knee, so the direction of foam rolling should replicate this.
- Support your body with the elbows on the floor.
- Have the opposite leg out to the side to help with the rolling movement.
- To increase pressure, you can stack the legs on top of each other.

Hamstrings
The hamstrings are made up of three major muscles which run down the back of the upper leg from the bottom of the hip, down to just below the knee joint.
- The position used is similar to rolling the calves, but with the foam roller under the thigh rather than under the lower leg.
- Rotating the leg during rolling can help to hit the semitendinosus on the inside of the leg, the semimembranosus down the middle, and the biceps femoris towards the outside of the leg.
- To increase pressure, you can stack the legs on top of each other, and to reduce pressure you should support more weight through the upper body.

Adductors
There are a handful of muscles located on the inside of the upper leg known as the adductors, responsible for movements that bring the legs together (hip adduction).
- Place yourself in a side-lying position.
- With the leg to be rolled out to one side, support the upper body using the hands or elbows.
- Contact should be made on the inner thigh, and from the hip down to the knee and back.
IT Band / TFL Stretch
The Iliotibial (IT) Band is a long and fibrous fascia structure that runs on the outside of the leg, from the front of the hip right down to below the knee. A tight IT band is common in runners or cyclists as a result of overuse and can cause knee pain. At the top of this ligament is a muscle known as the tensor fasciae latae (TFL), and trigger points here are frequently the cause of tight IT bands.
- Although some people recommend rolling the full length of the IT band, some find that focusing on any trigger points in the TFL is just as effective – primarily due to how the TFL is a more pliable soft tissue structure.
- To roll over the TFL, lie on your side, with the foam roller under the hip, and to increase stability you can bring the opposite leg over.

Piriformis
The piriformis is a small muscle at the back of the hip, connecting the bottom of the spine with the top of the femur. The piriformis is primarily responsible for external rotation of the hip.
Due to its location, a tight piriformis can irritate the nearby sciatic nerve, which may cause pain or tingling down the length of the leg, so it is worthwhile taking some time to check the piriformis for trigger points.
- In order to foam roll it, you should internally rotate the hip, with the foot of the leg to be rolled placed by the knee on the opposite leg.
- Slowly roll over the length of the muscle. To increase pressure, support less of the bodyweight with the floor and use the foam roller to support the body instead.
- Again, as this is a small muscle, a lacrosse ball may be a better way to pinpoint the pressure applied.
Upper Back
There are a lot of muscles in the upper back, ranging from the large trapezius, which are the closest to the surface, through to rotator cuffs, which are relatively deep in the structure.
- Place the foam roller under the upper back.
- Roll from the upper traps, down to the bottom of the thoracic spine.
- Foam rolling the lower back can put an increased curve in the lumbar spine, so it is advisable to limit this to just the upper back.
- Cross the arms over the chest to help protract the shoulder blades and allow the foam roller to put pressure on muscles rather than bones.
- Keep weight through the feet rather than letting the hips rest on the floor, as this can increase spinal curves.
If you want to target particular muscle groups such as the traps, then you may need to roll across the back rather than up and down due to the differing angle of the muscle fibres.

Latissimus Dorsi
The lats are another large muscle in the back worth rolling out before exercise. The latissimus dorsi originates on the lower to mid-spine and runs under the armpit to attach to the front of the humerus.
- To use a foam roller on this muscle, lie on the side.
- Raise one arm out to the side, with the foam roller under the armpit.
- Push through the legs to roll the length of the muscle.
- To contact different angles, you can simply turn the body, so you are closer to lying on the back. This will help with release of more posterior fascia. To reduce pressure, allow the hips to rest on the floor, and to increase pressure, lift the hips up higher.

Take Home Message
This article demonstrates just a handful of foam rolling exercises you can integrate into a foam rolling routine before training to improve range of movement, or after training to help reduce DOMS.
For smaller muscle groups, you may be better using a smaller rolling tool such as a hockey or lacrosse ball, which will allow you to be more accurate with the pressure applied. Foam rolling is expected to be uncomfortable but not painful, you can increase or decrease pressure accordingly by supporting your bodyweight though the arms and legs.
READ MORE HERE:
10 Basic Yoga Exercises For Beginners | Yoga Made Easy
Roll out your yoga mat and discover the benefits yoga has to offer....
Find Your Flexibility With Composure 2.0 | Made For Yoga
A deep dive into what makes this range Fit for Purpose....

